
Whether you're considering a change in your CommentGPT subscription or deciding to cancel it, understanding the process is crucial for a smooth transition. This comprehensive guide will walk you through the steps to cancel your subscription, while also providing you with resources to manage every aspect of your experience with the platform.
Step 1: Go to The Settings Page
Start by clicking on the CommentGPT icon in the Chrome extension bar. This will open the CommentGPT tool on the current page.
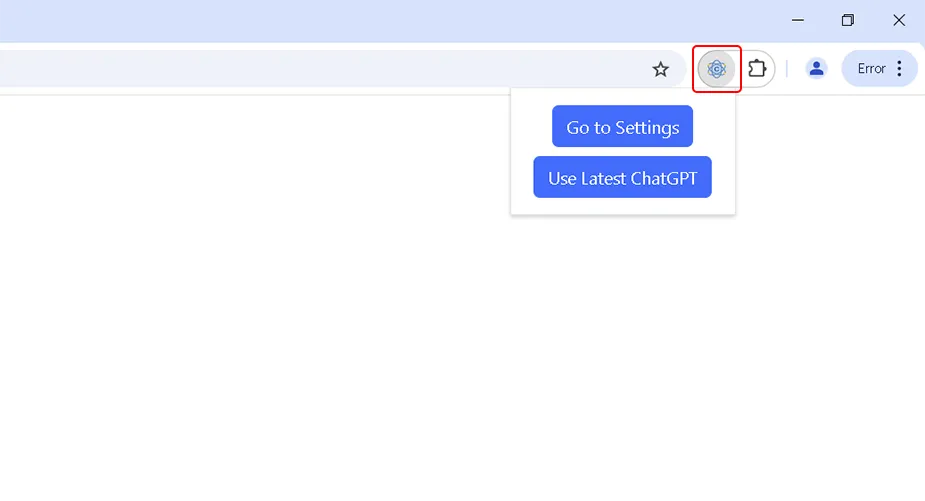
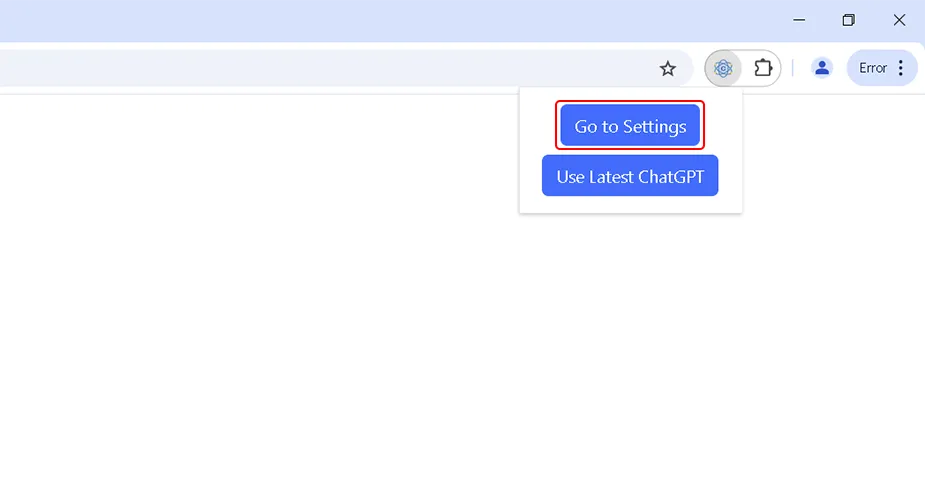
Click the "Settings" button and go to the settings page.
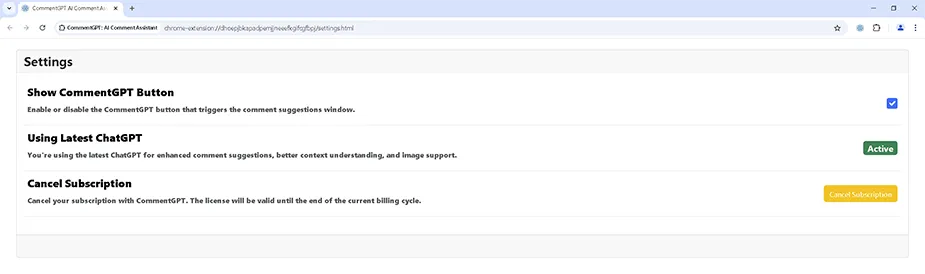
Step 2: Click the "Cancel Subscription" button
Click the "Cancel Subscription" button
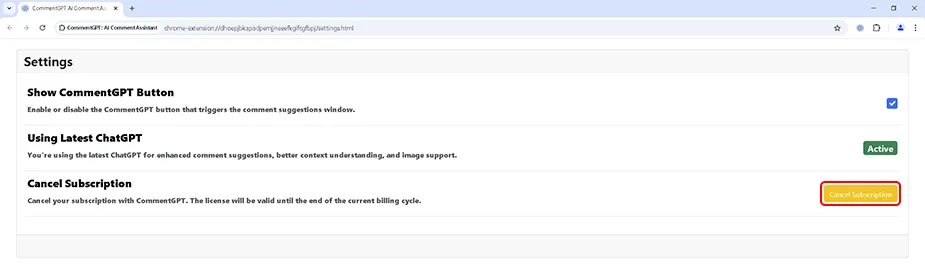
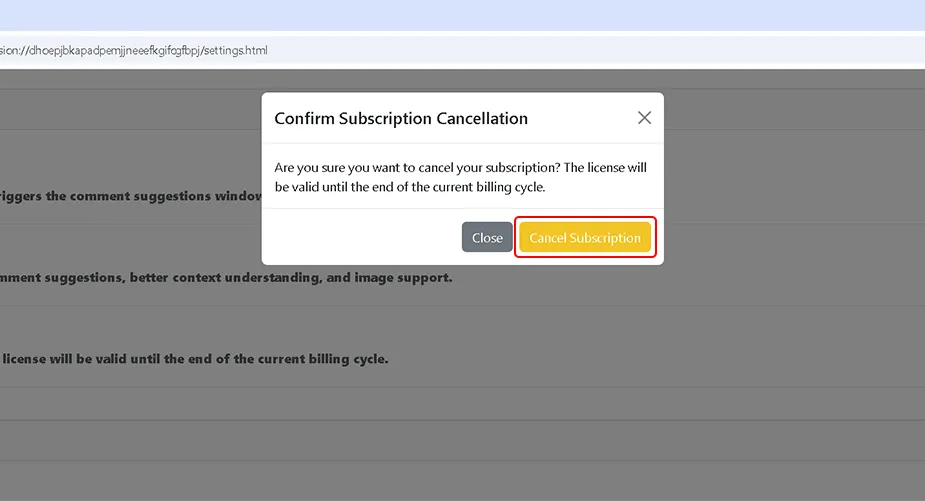
Click the "Cancel Subscription" button in the "Confirm Subscription Cancellation" pop-up.
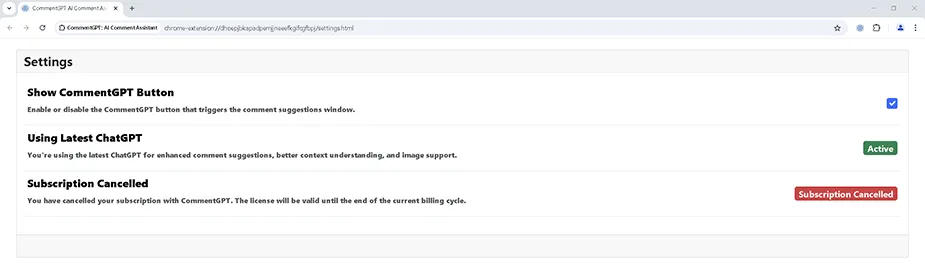
Step 4: Subscription Cancelled
That's it! You've successfully canceled your subscription to CommentGPT. Your license will remain valid until the end of the current billing cycle.
Enhance Your CommentGPT Experience
To ensure you're getting the most out of CommentGPT, here's a collection of resources for various functionalities and features of the platform:
- How to Install the CommentGPT Extension: Detailed steps to integrate the extension into your browser for an enhanced commenting experience.
- How to Launch CommentGPT AI: Discover the simplest way to activate the extension and begin your journey to effortless and engaging social media interactions.
- How to Use CommentGPT: Tips and strategies to fully leverage the AI capabilities for your social media engagement and content creation.
- How to Upgrade Your Subscription: Information on how to access more advanced features and tools by upgrading your plan.
Conclusion
Managing your CommentGPT Premium subscription, whether upgrading, adjusting, or canceling, is designed to be simple and user-friendly. This guide has provided you with clear steps to cancel your subscription while ensuring that your license remains valid until the end of your current billing cycle. CommentGPT is committed to providing exceptional tools to enhance your social media interactions and engagement. Whether you're exploring its advanced features or deciding on your subscription needs, we aim to support you every step of the way. Your feedback helps us improve and deliver a platform that continues to meet your expectations.