Follow this simple step-by-step guide to install the GrammFix extension.
Step 1: Open the GrammFix Website
Begin by launching any web browser and navigating to GrammFix. This is where you'll find all the information about the tool.
Step 2: Click on "Install Free Extension"
On the GrammFix website, look for the button that says "Install Free Extension".

You'll Be Redirected to the Chrome Web Store
When you click on "Install Free Extension," you'll be redirected to the Chrome Web Store. Here, you'll find the GrammFix extension.
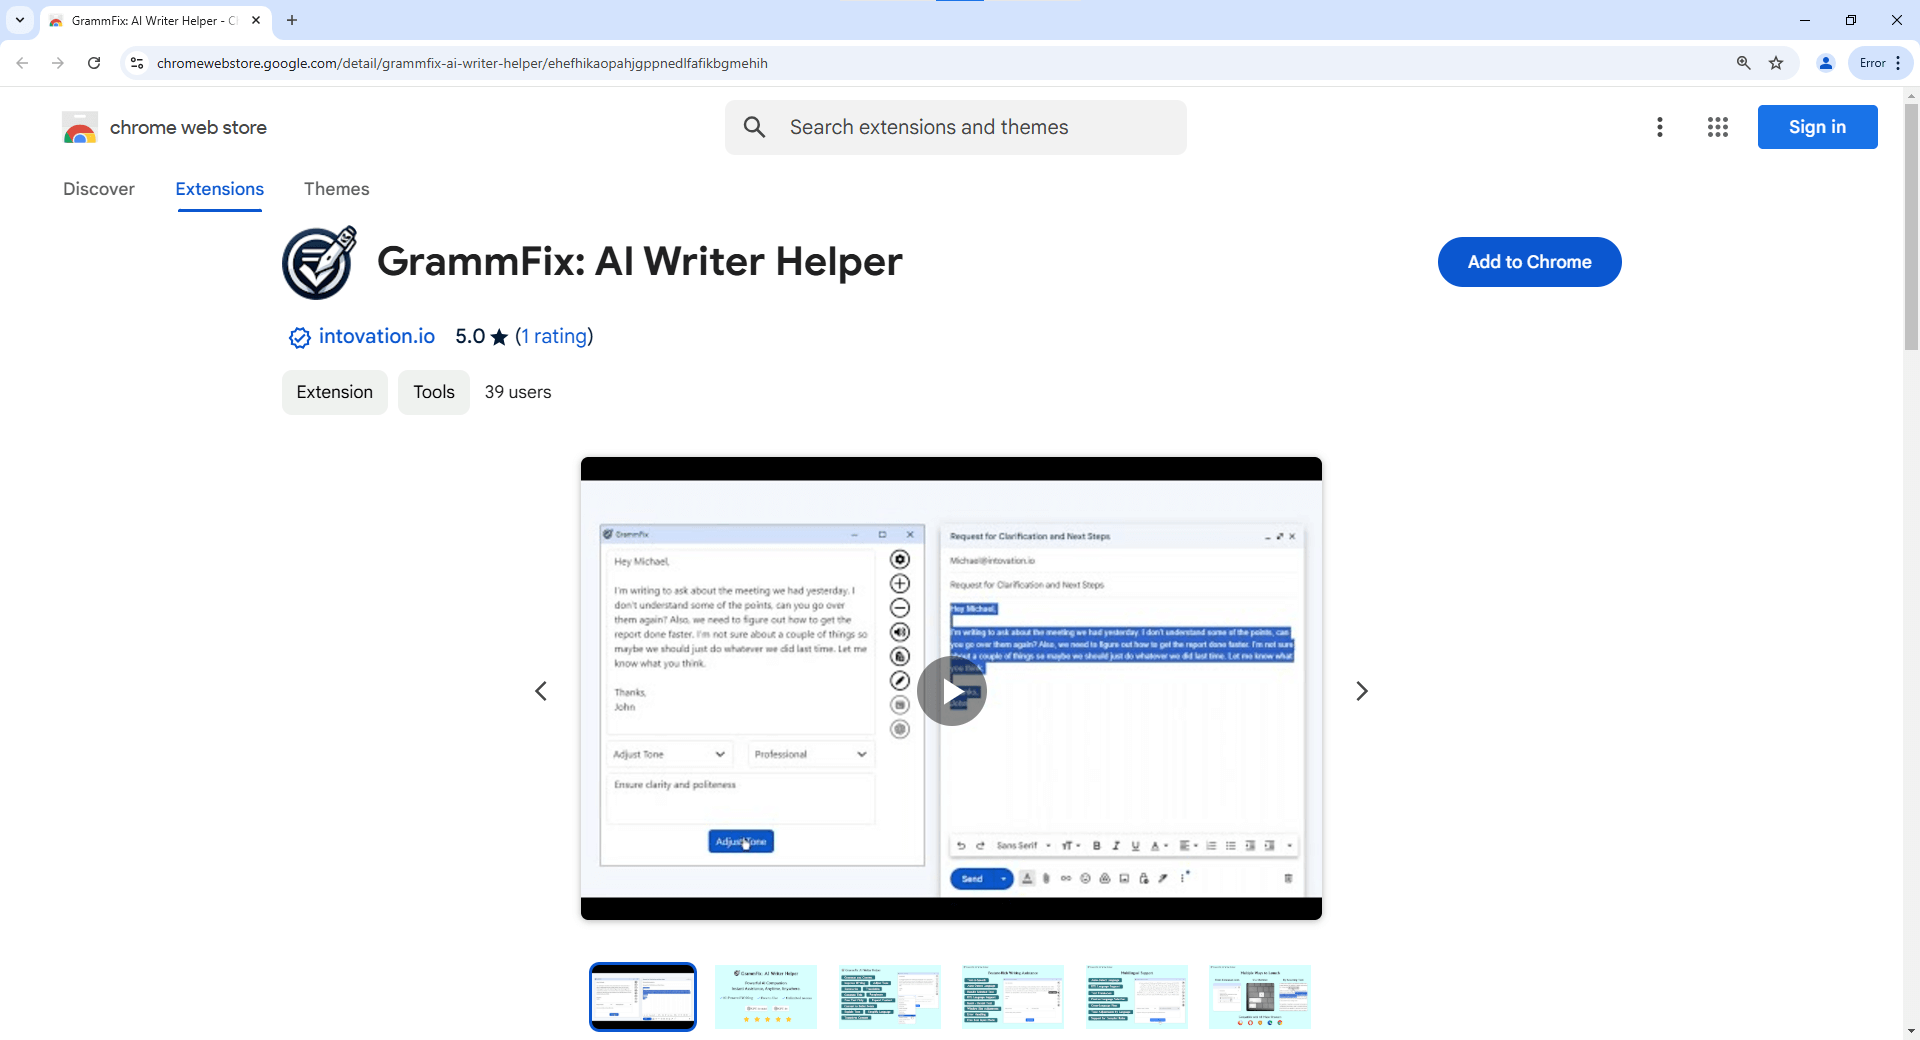
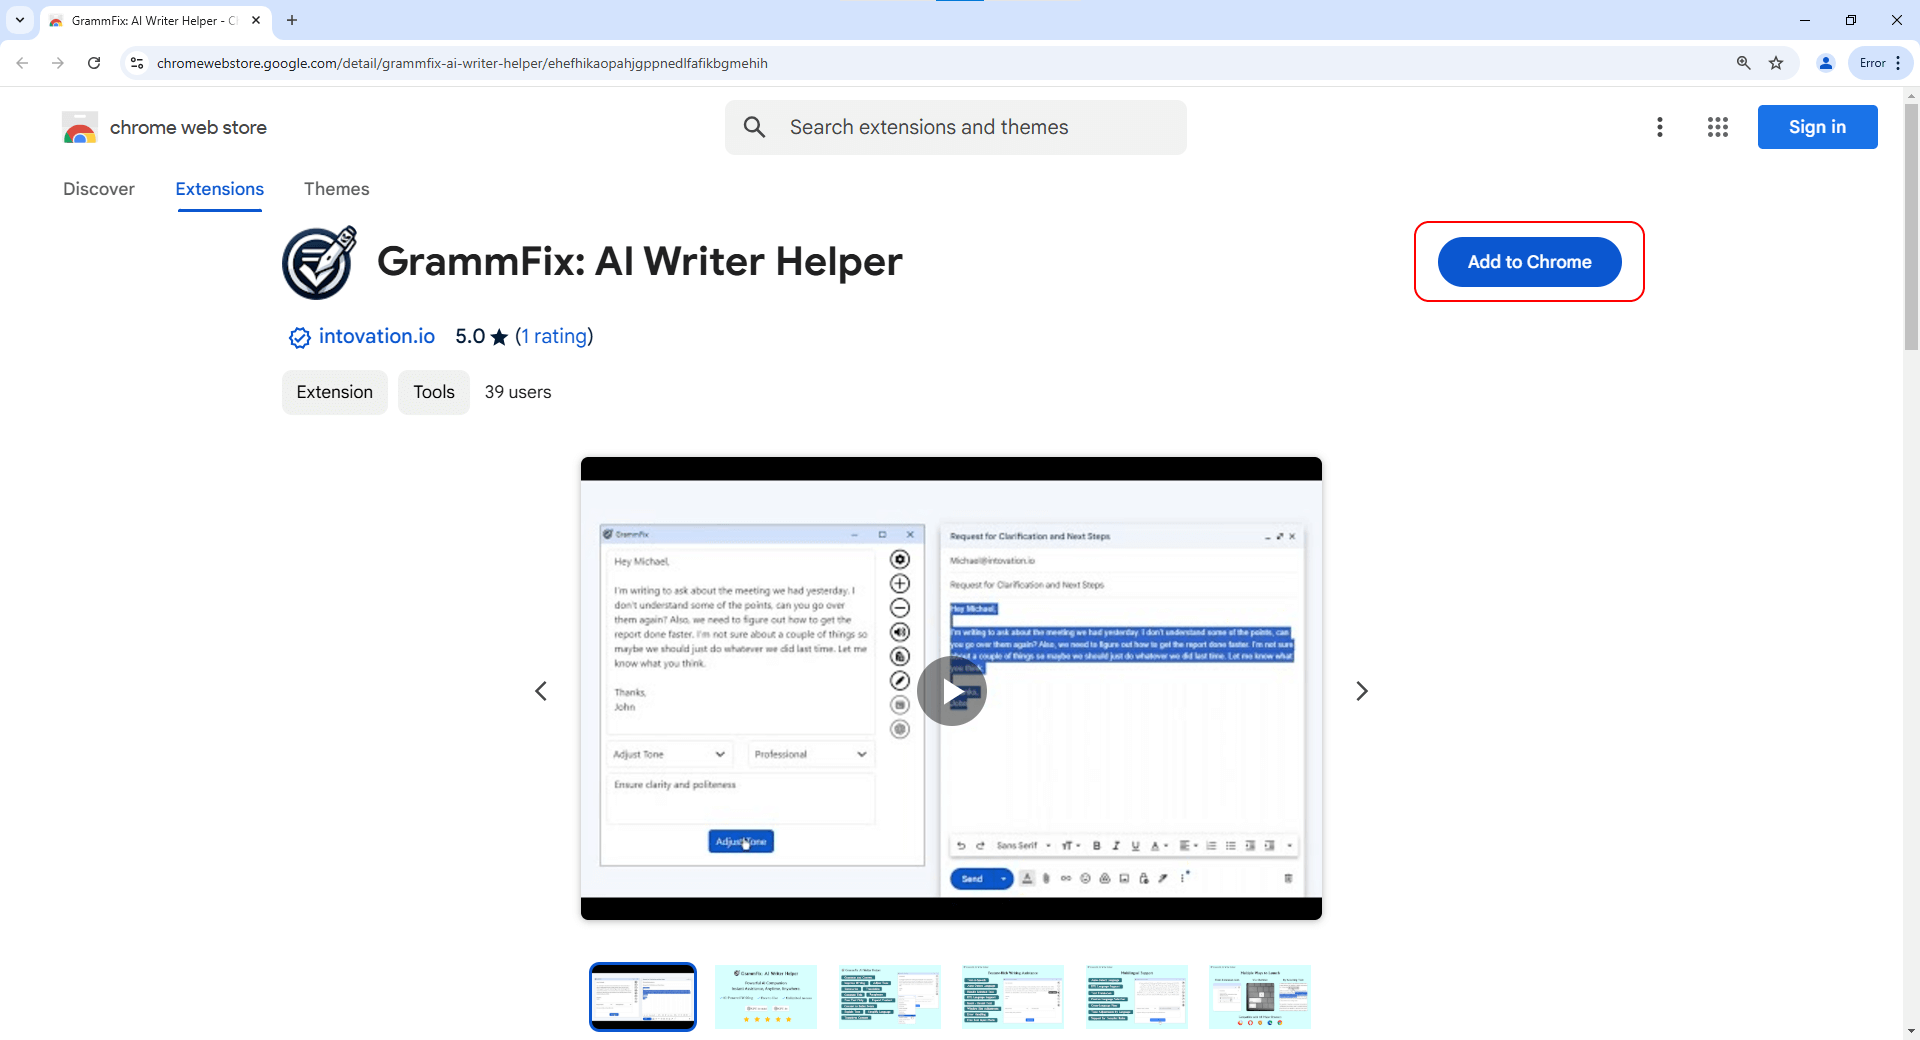
Step 3: Click on "Add to Chrome"
On the Chrome Web Store page for GrammFix, locate the "Add to Chrome" button. Click on it to initiate the installation process.
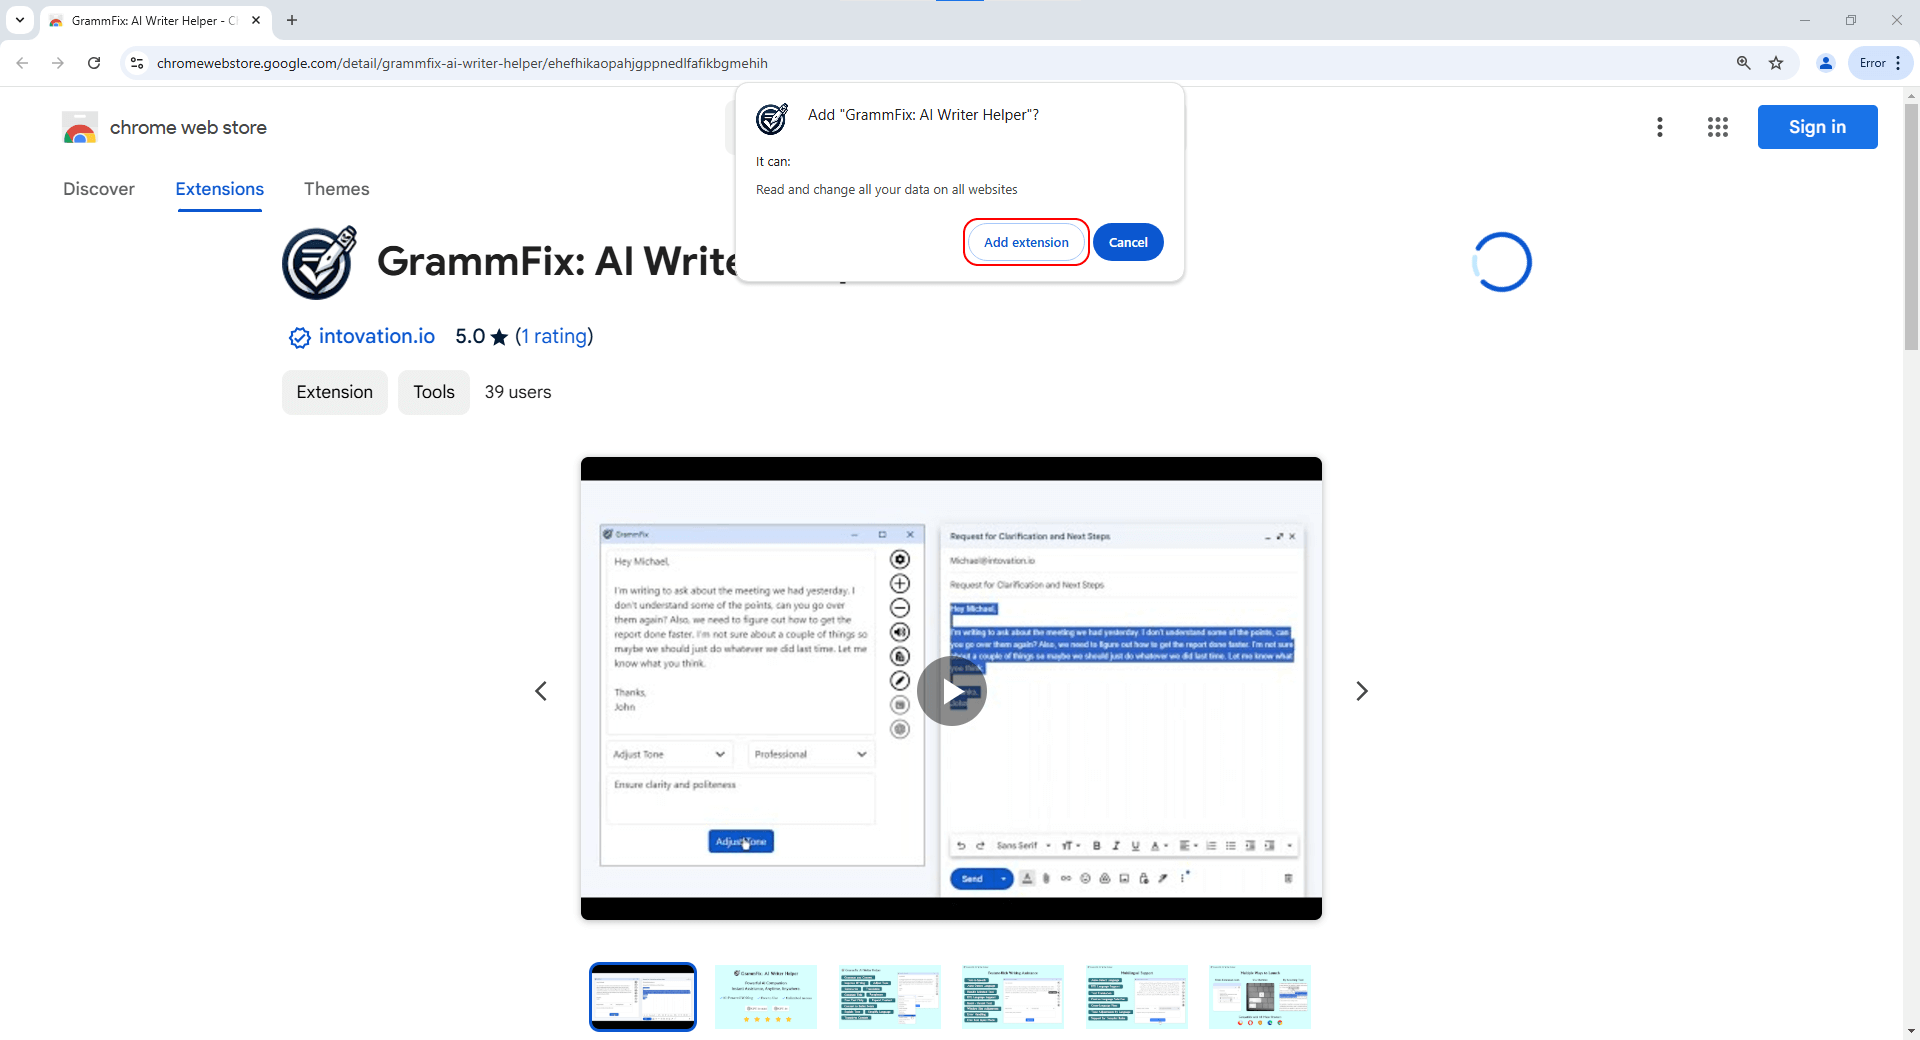
A pop-up will appear asking for confirmation to add the extension. Click on "Add Extension" to proceed with the installation.
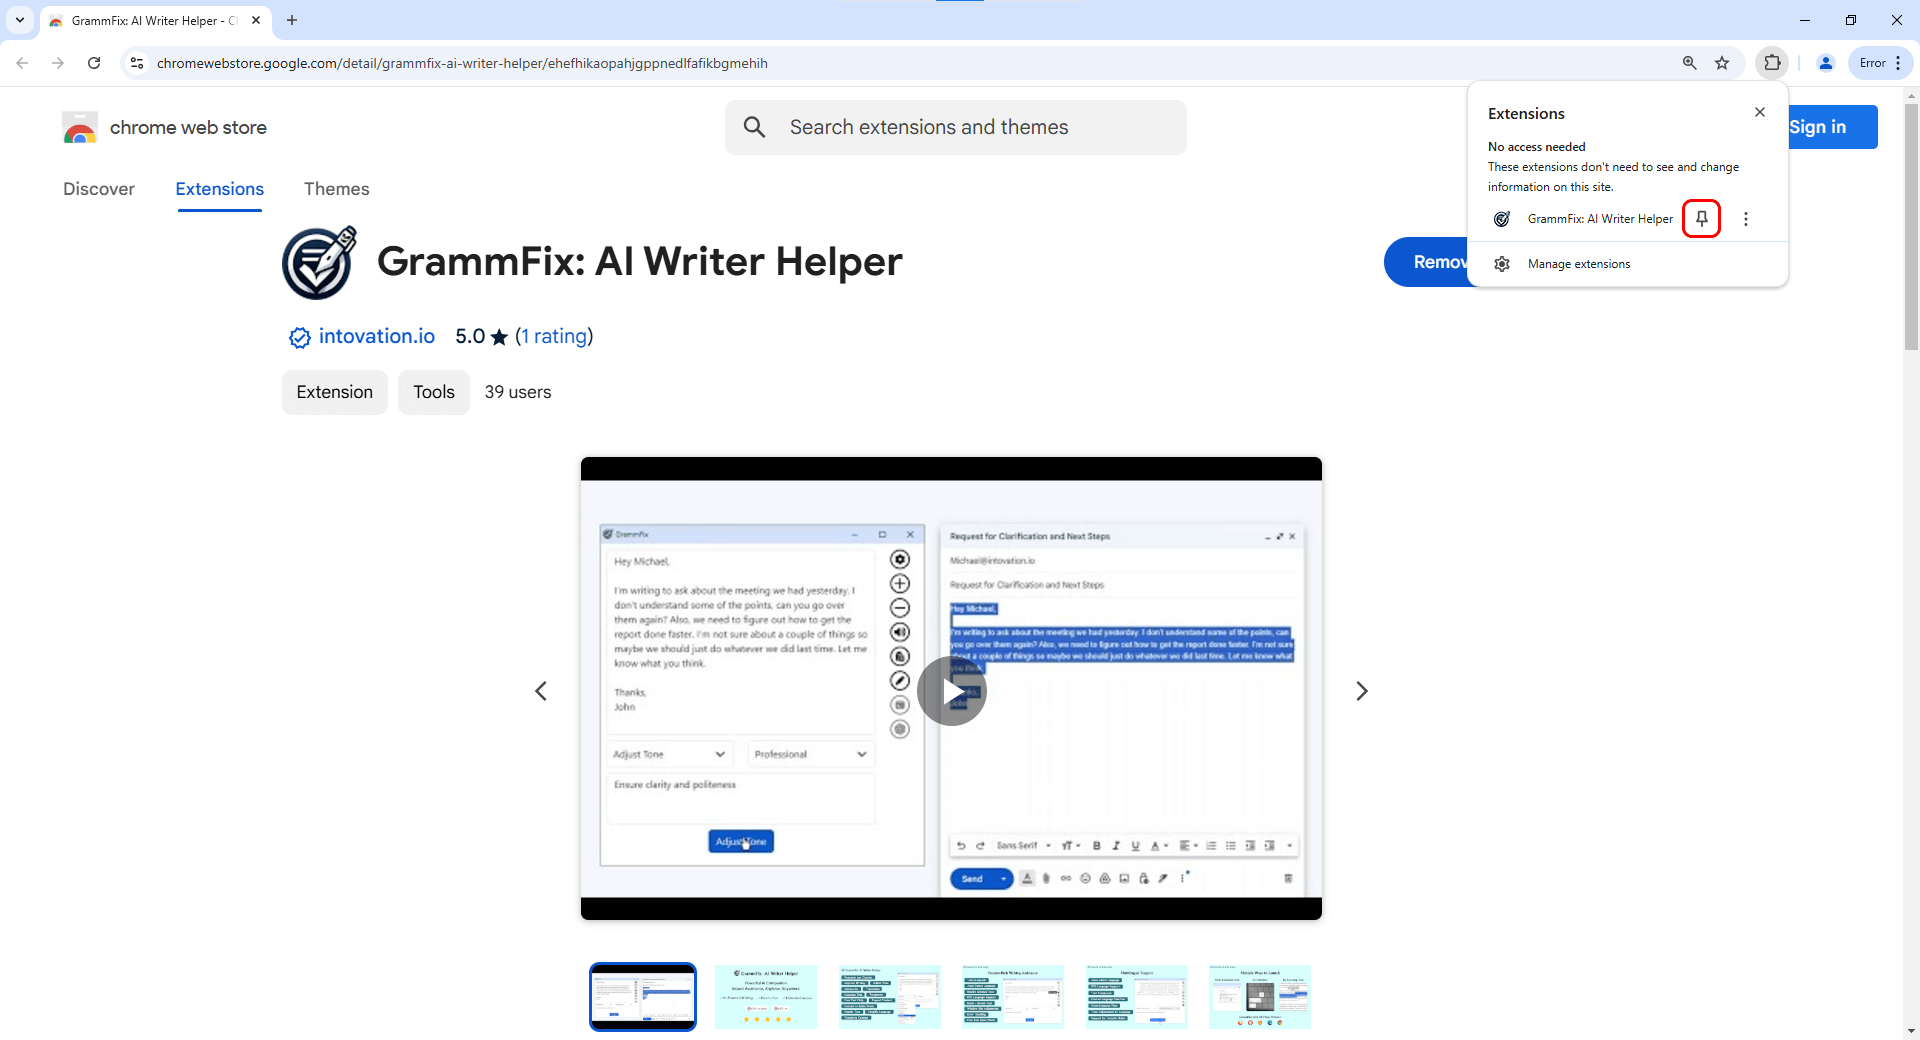
Step 5: Pin the Extension
Click on the “Extension” icon in your browser toolbar to open the dropdown. Now, locate the “Pin” icon beside GrammFix extension. Click on that icon. This will keep the extension icon visible in your browser toolbar for easy access.
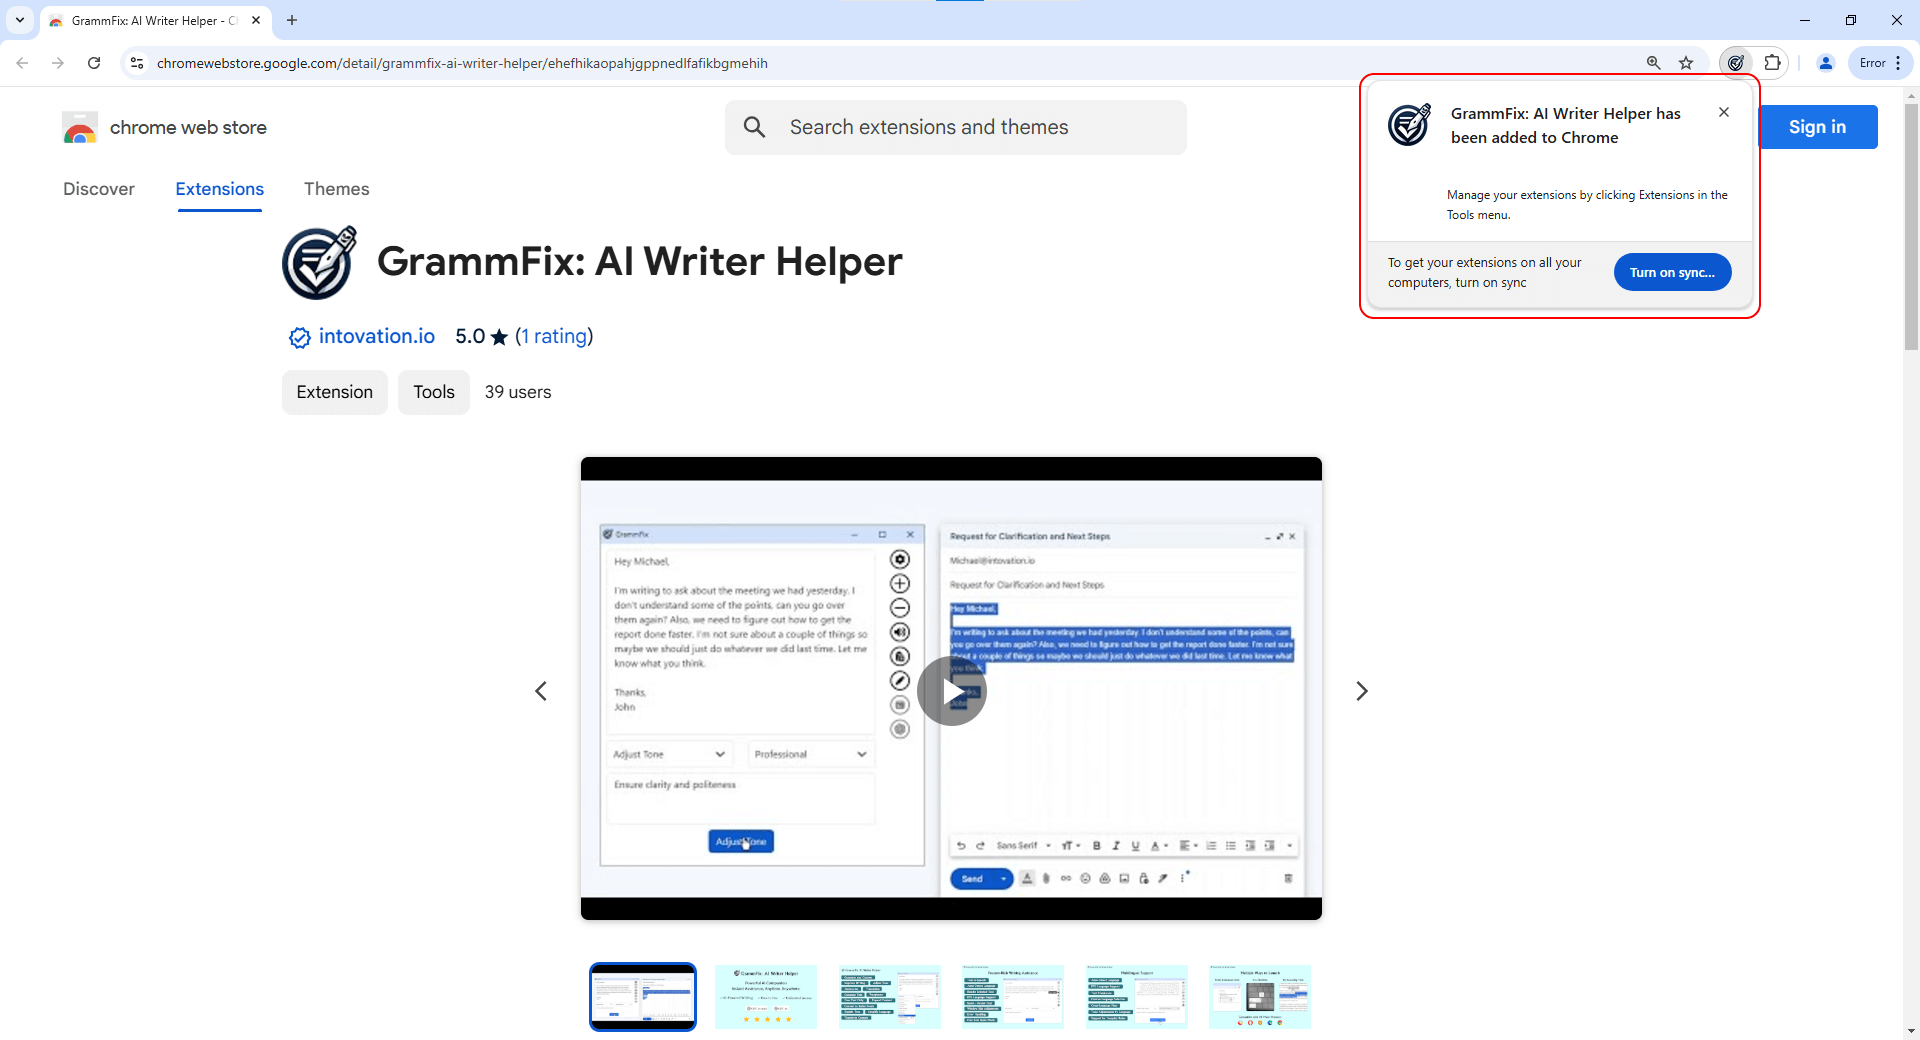
Extension installed successfully
You've successfully installed the GrammFix extension, enabling you to effortlessly compose professional messages and emails. To access step-by-step instructions on various aspects of GrammFix, simply click on the respective links:
- Click Here to Explore How to Use GrammFix
These links will provide you with detailed guidance on each topic, ensuring a smooth experience with GrammFix.